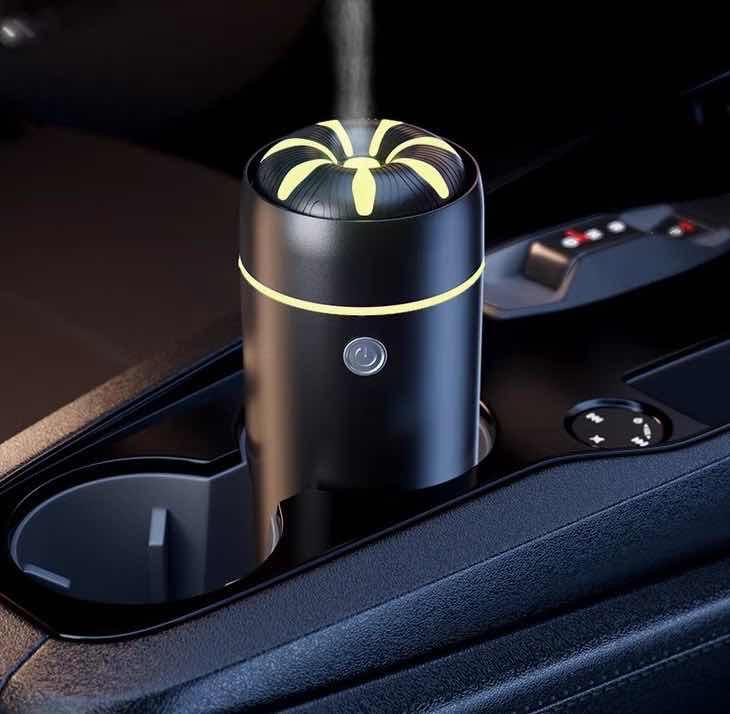
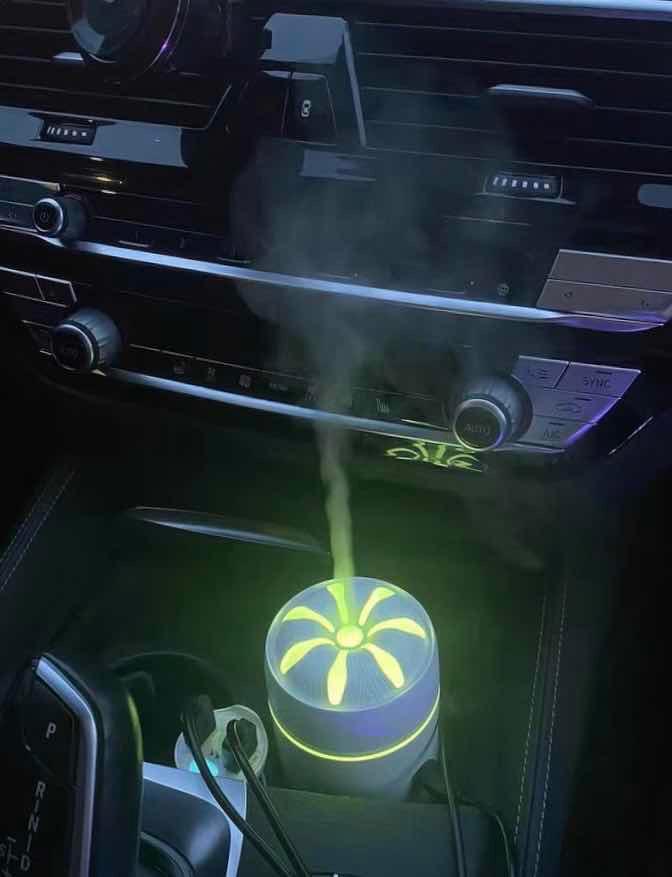
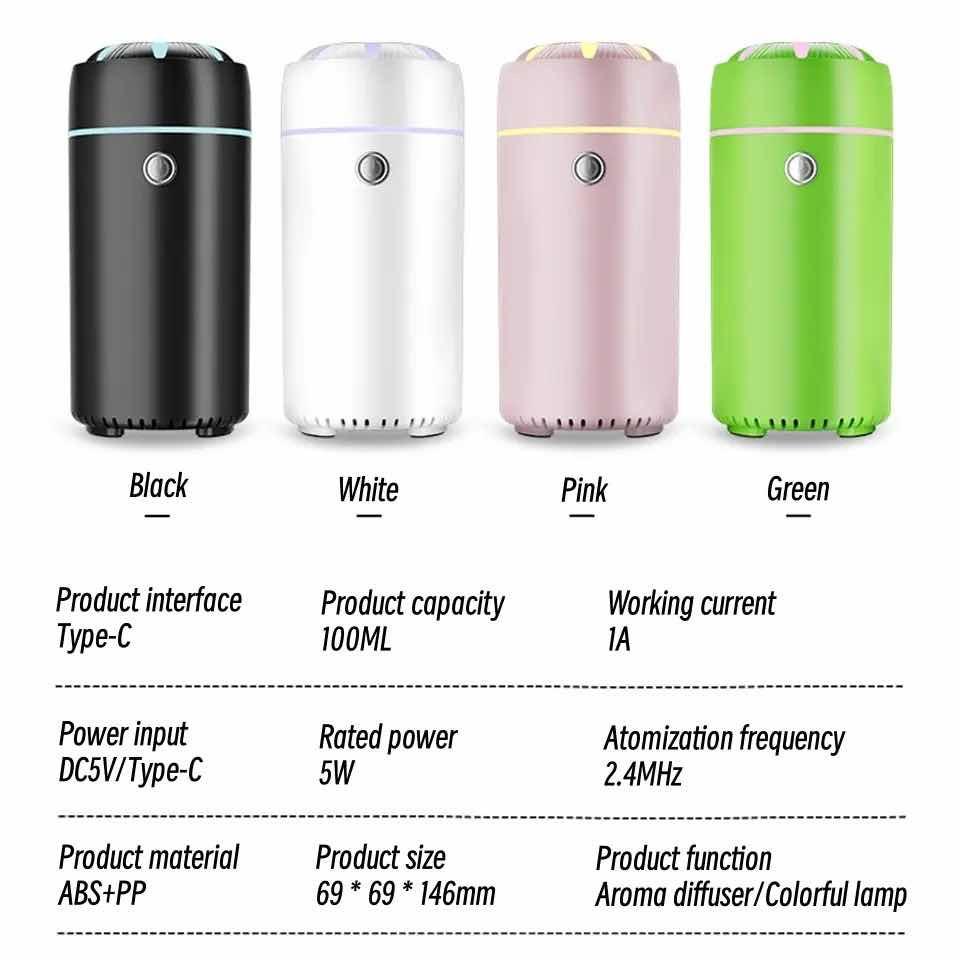
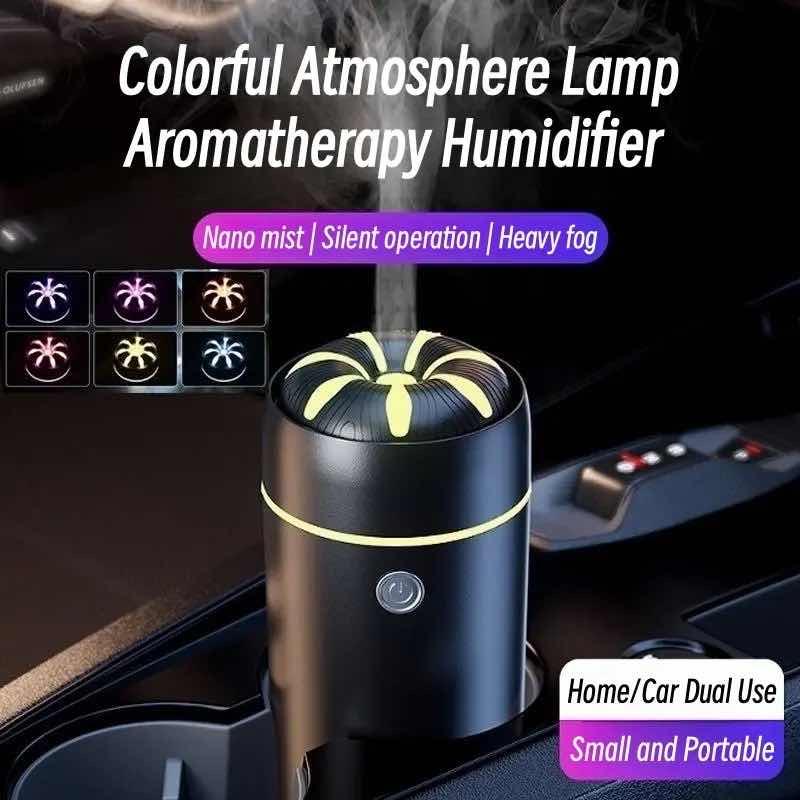
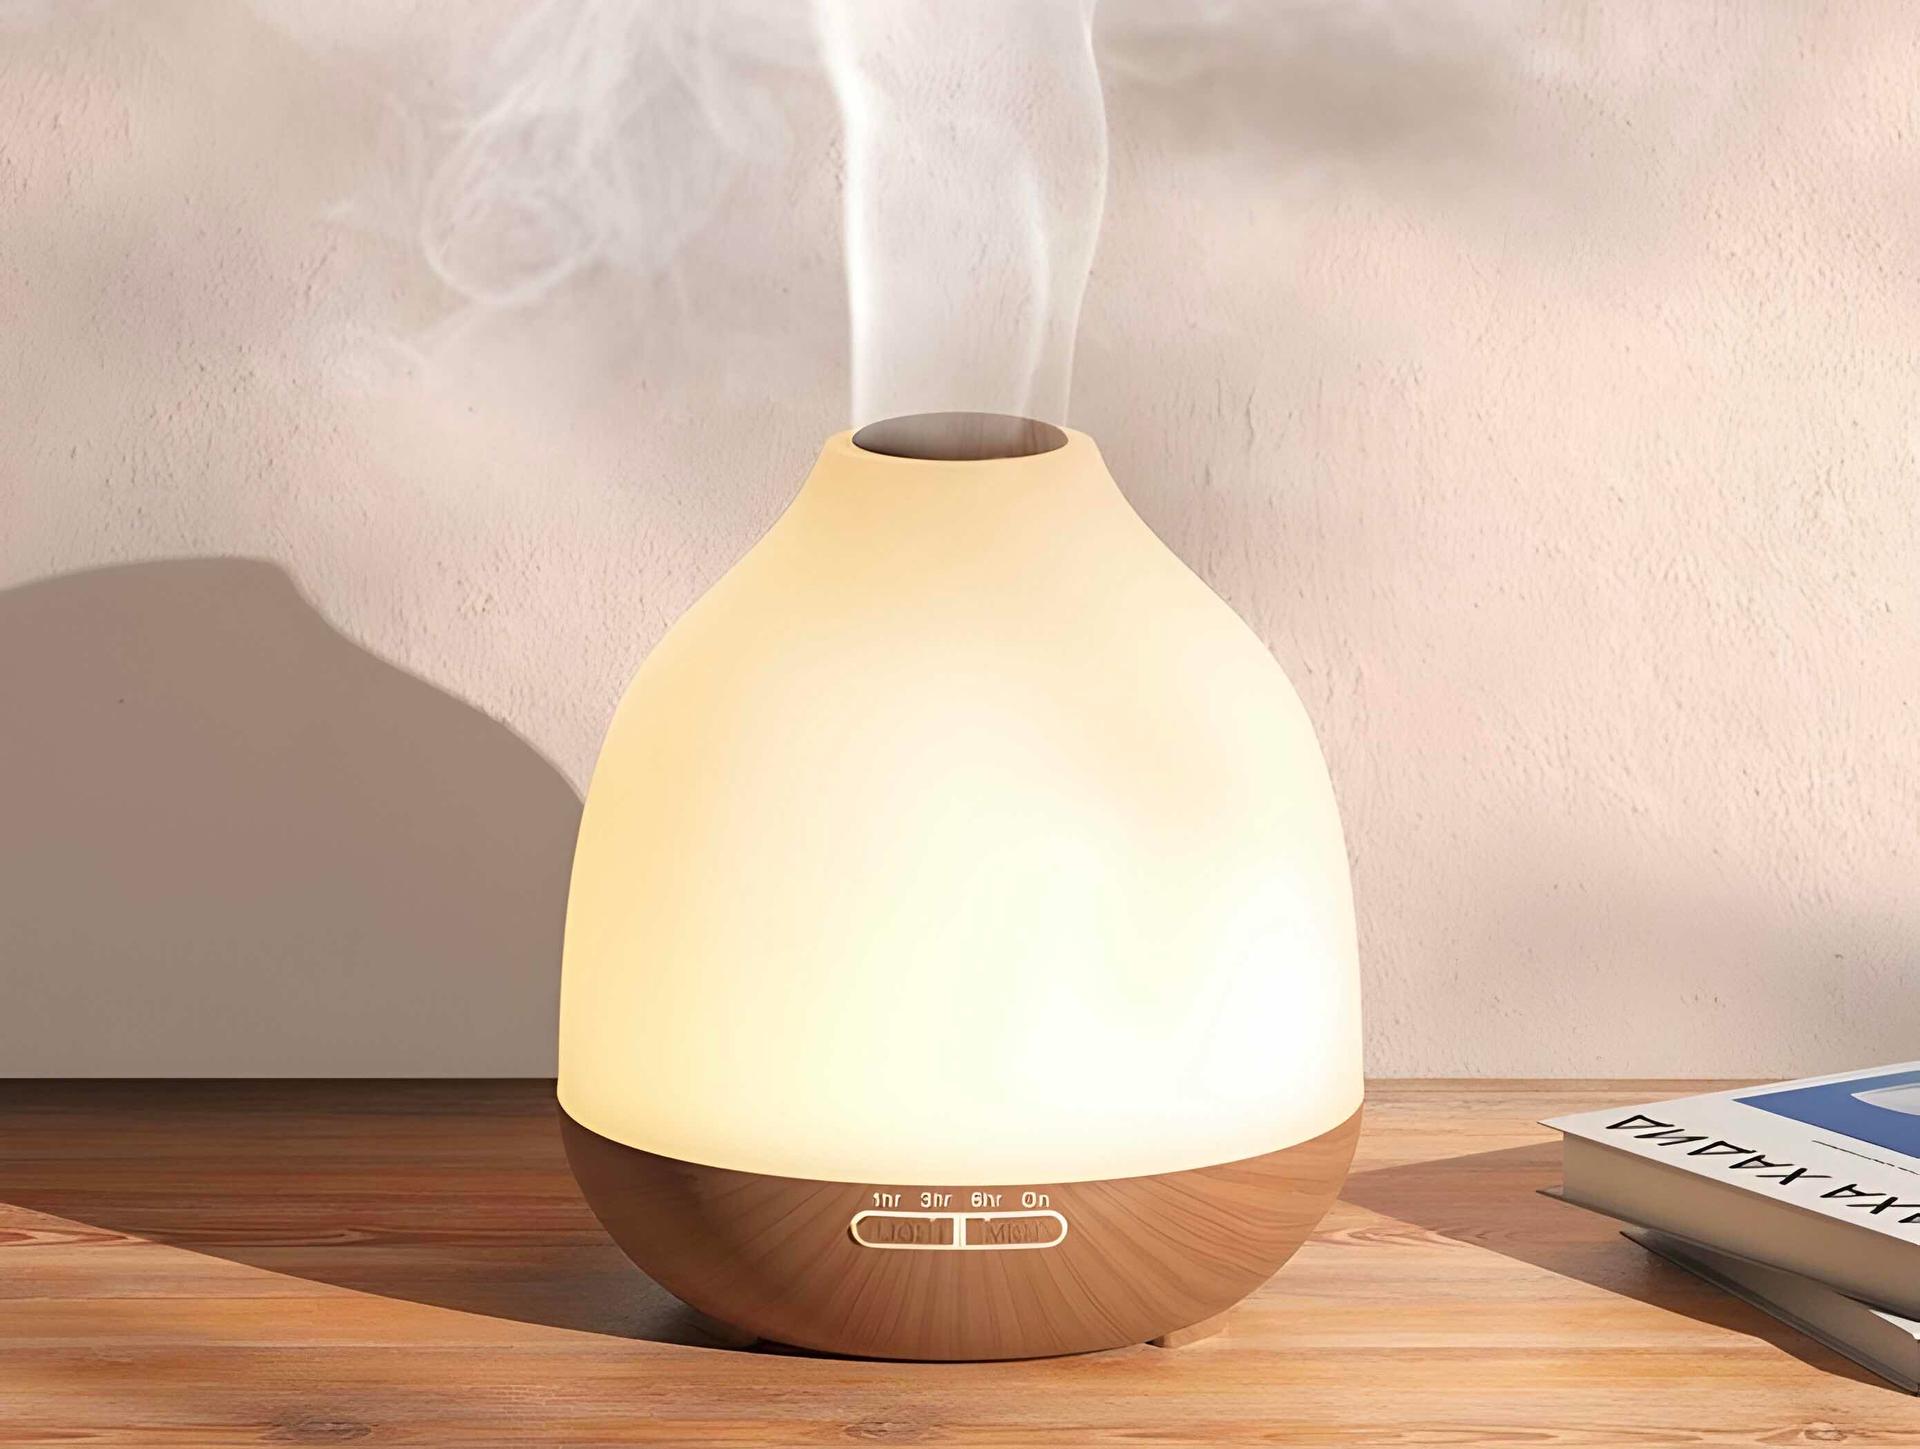
Model: Intelligent Aromatherapy F1
Water Tank: 100ml
Size: 69mm x 69mm x 146mm
Working Hour: Up to 6hrs
USB: Type-C 5V/1A
Can add diffuser oil
Free charger

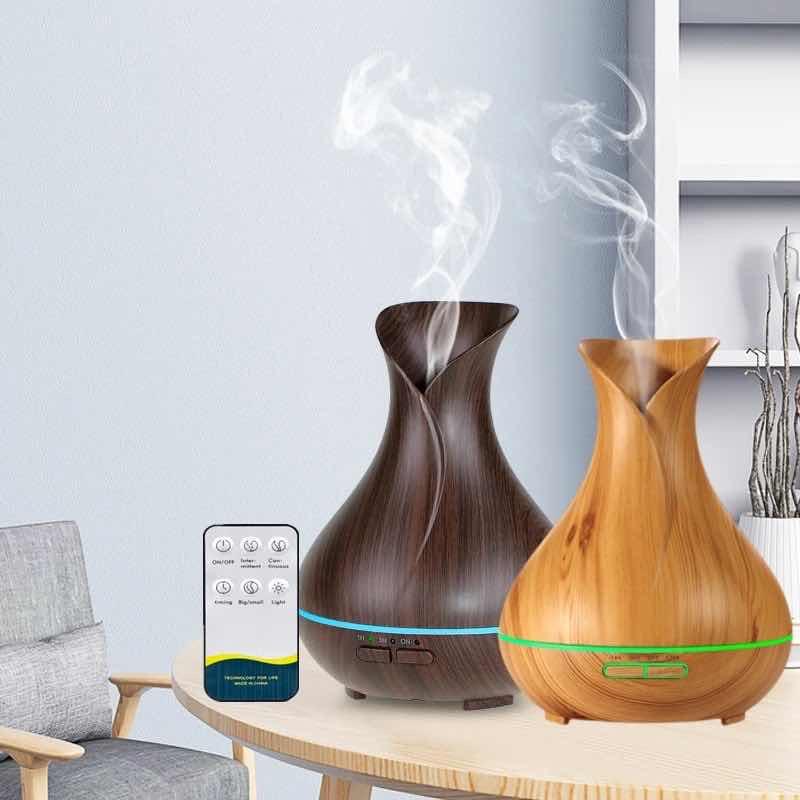
Product Name: X02 Aroma Diffuser Water Capacity: 500mlWorking Hour: Up to 12hrsVoltage: DC24VTimer: 1H-3H-6H-ONRemote Control: YesProduct Size: 170mm x 170mm x 188mmProduct Weight: 370gApplication Area: 20-30m²Can add essential oil
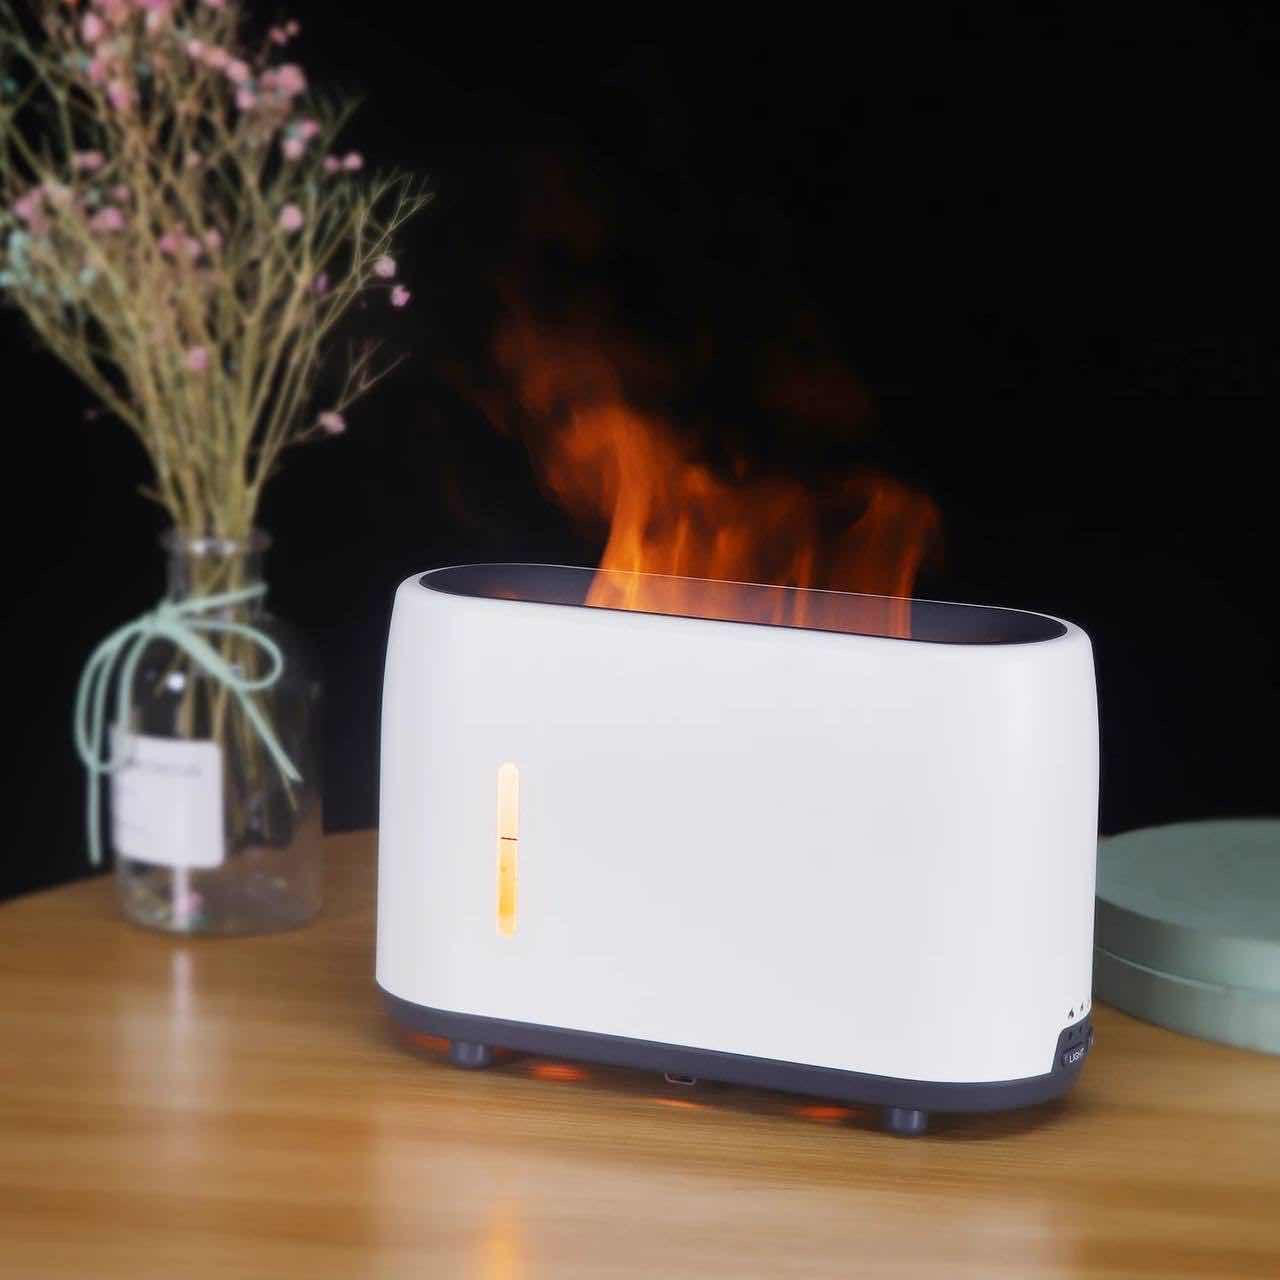
Model: Flame Aroma DiffuserWater Capacity: 240ml(Max)Remote Control: YesLED Light: Warm LightTimer: 2H-4H-ONWorking Hour: Up to 20hrsApplication Area: 10-15m² Product Size: 210mm x 135mm x 81mmCan add diffuser oil
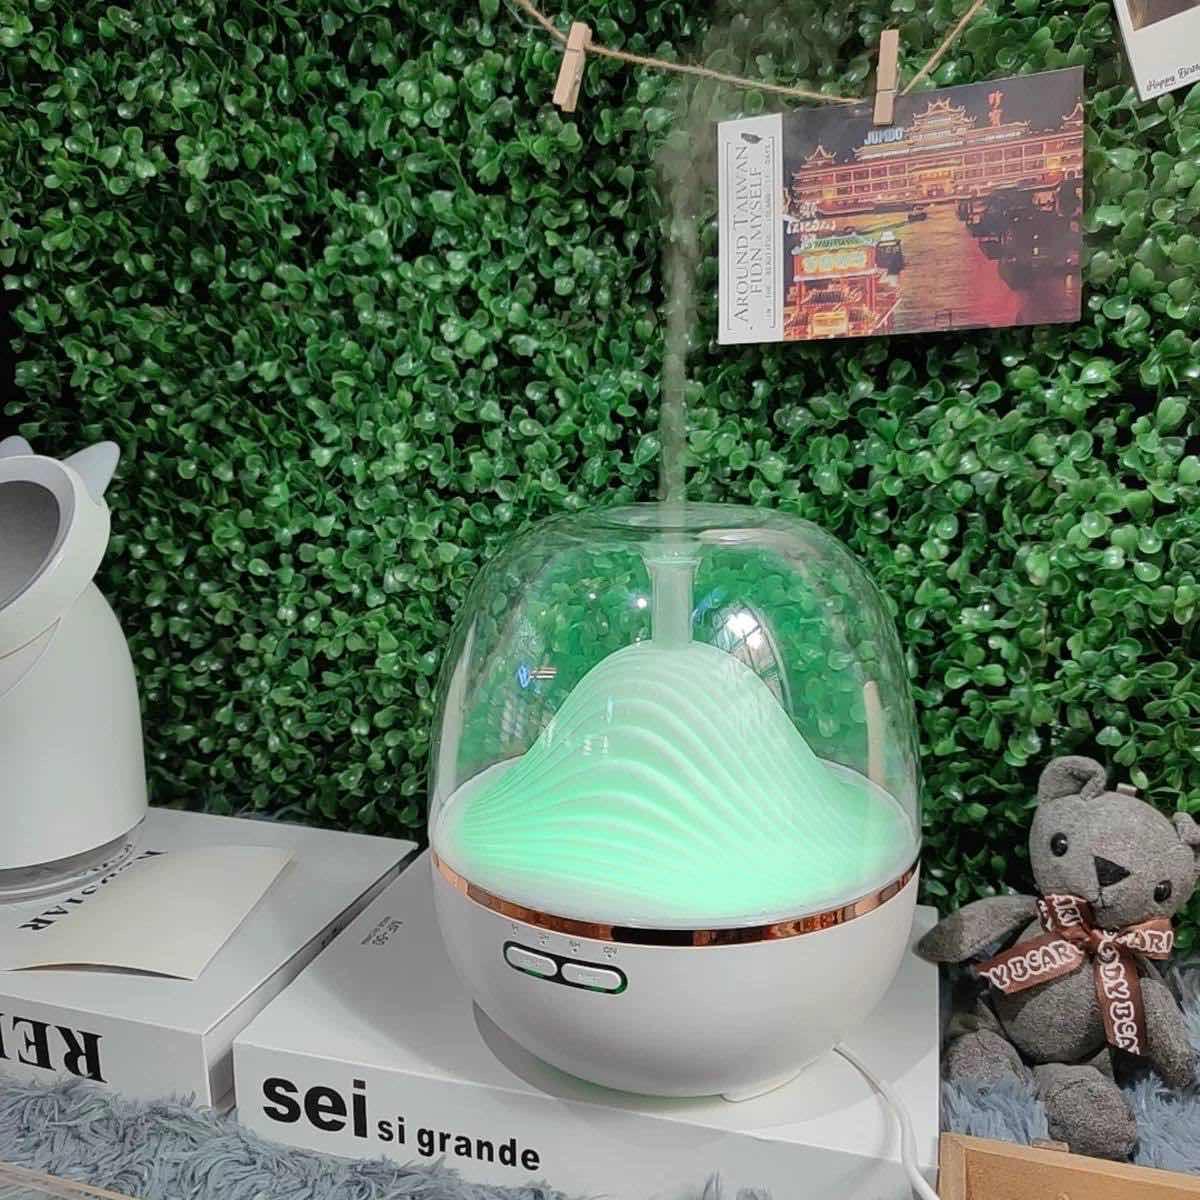
Model: Mountain Aroma Diffuser Water Capacity: 600mlWorking Hour: Up to 12hrsTimer: 1H-3H-6H-ONRemote Control: YesSize: 179mm x 179mm x 193mmApplication Area: 20-30m²Can add diffuser oil

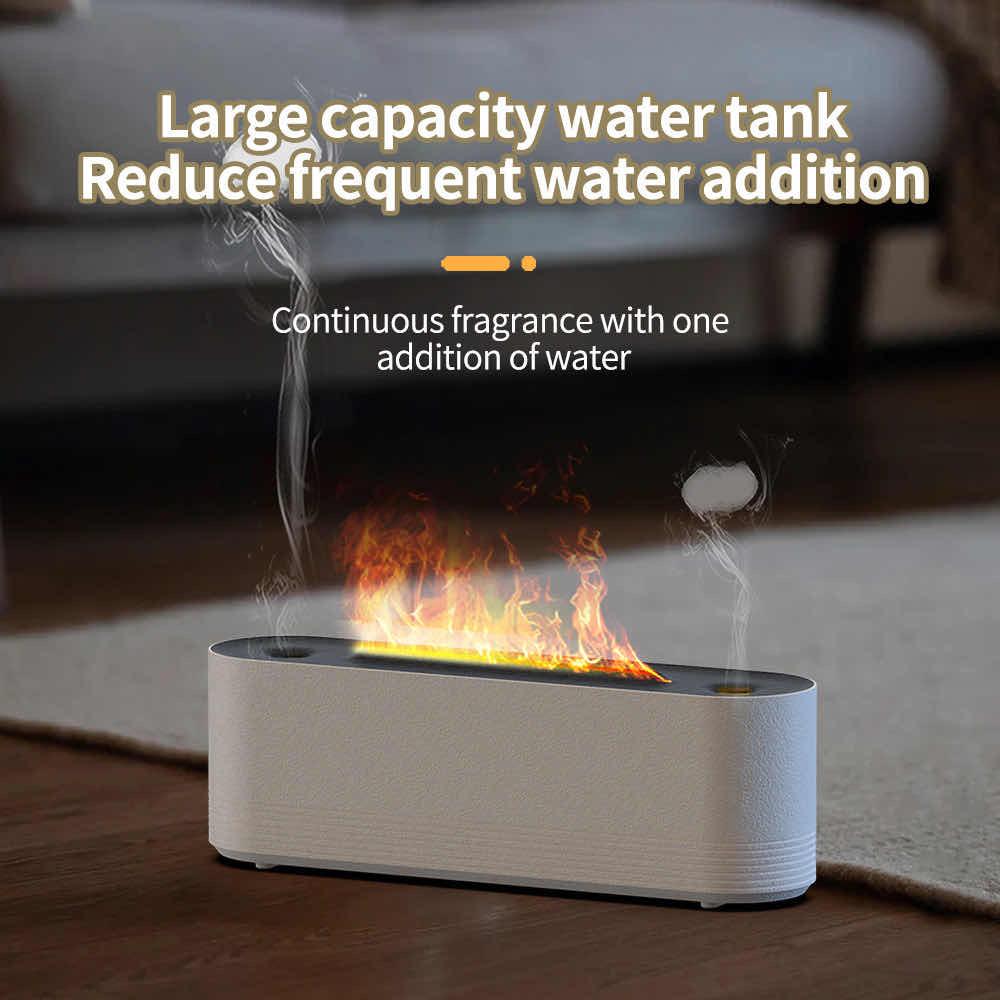
Model: Simulation Flame Aroma Diffuser Water Capacity: 300mlTimer: 1H-3H-6H-ONRemote Control: YesCurrent: DC-24VApplication Area: 15-25m² Working Hour: Up to 8hrsSize: 170mm x 80mm x 80mmCan add diffuser oil
Model: JS119 Flame Aroma DiffuserWater Capacity: 320mlPower port: Power DC24VApplication Area: 15-25m² Working Hour: Up to 10hrsLED Light: Colorful LightProduct Size: 300mm x 75mm x 100mmCan use with diffuser oil
Model: D3 Aroma Diffuser Water Capacity: 550mlWorking Hour: Up to 24hrsTimer: 1H-3H-6H-ONRemote Control: YesSize: 170mm x 170mm x 215mmApplication Area: 20-30m²Can use diffuser oilWarrant 3 months